

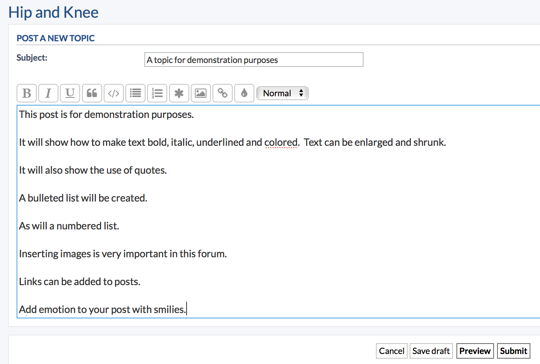
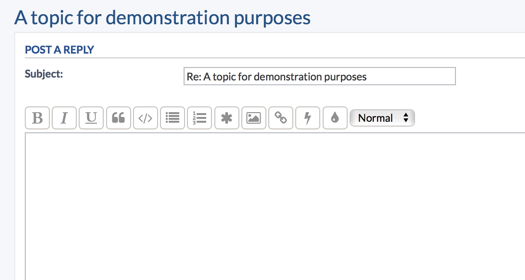
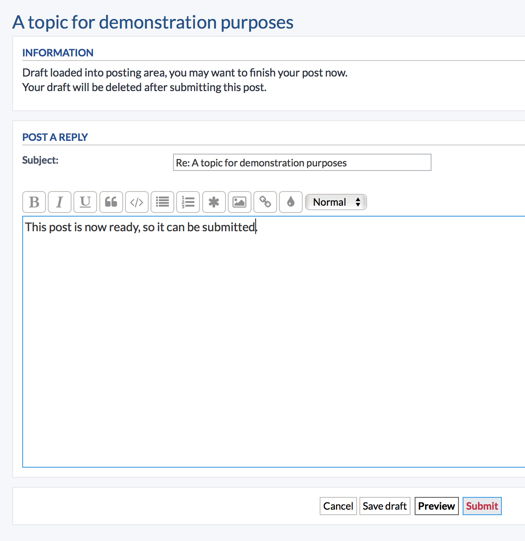
- Formatting the text of your post and/or add images to the post. See "Formatting a Post" to learn more.
- Hitting the "Cancel" button to throw away the post.
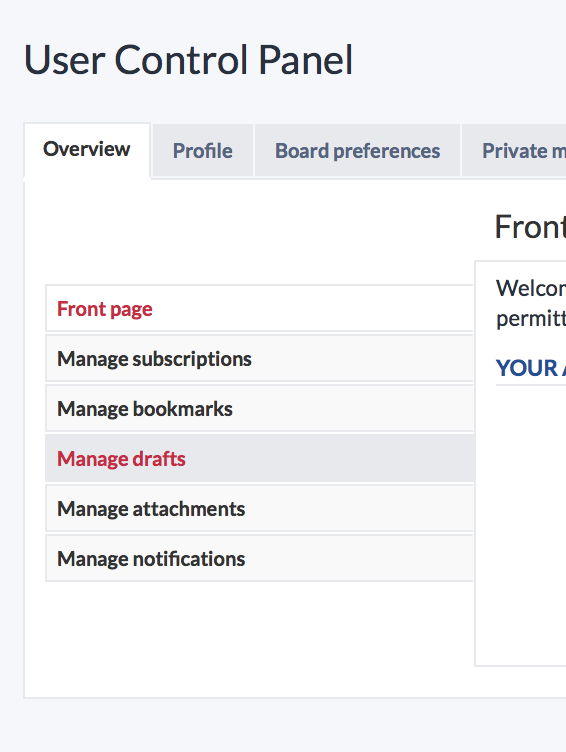
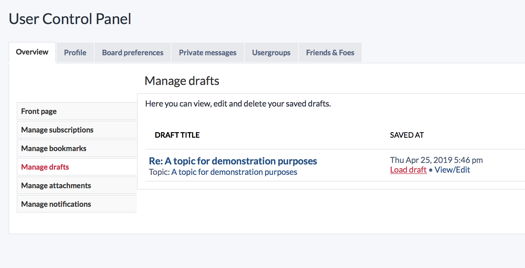
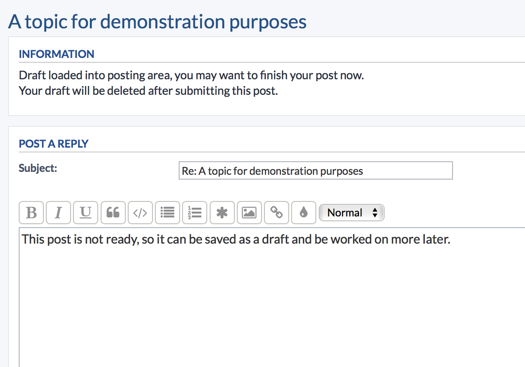
- Hitting the "Save draft" button will save the draft. See "Loading a saved draft" to learn how to work with drafts.
- Hitting the "Preview" button to see what your post will look like
- Hitting the "Submit" button to add your post to the forum

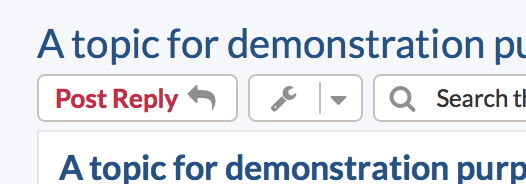
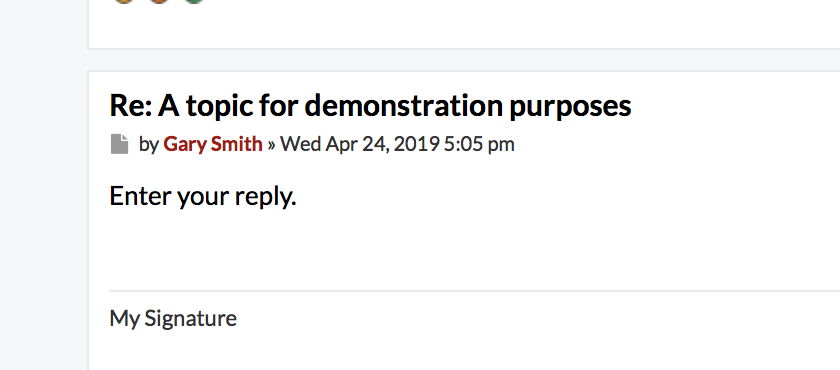
Preview of Post

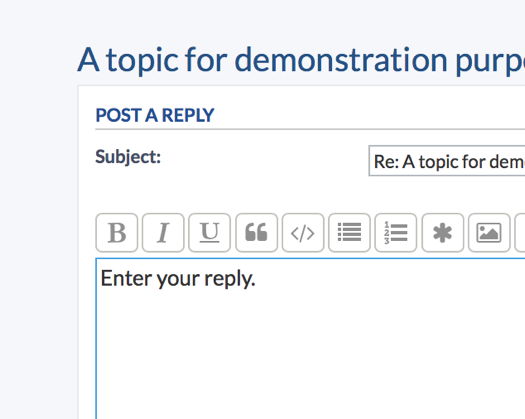
- Formatting the text of your post and/or add images to the post. See "Formatting a Post" to learn more.
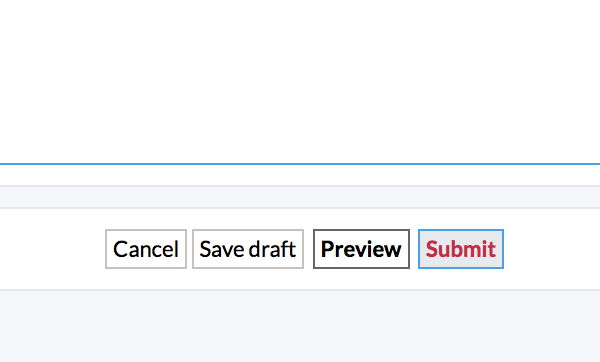
- Hitting the "Cancel" button to throw away the post.
- Hitting the "Save draft" button will save the draft. See "Loading a saved draft" to learn how to work with drafts.
- Hitting the "Preview" button to see what your post will look like
- Hitting the "Submit" button to add your post to the forum

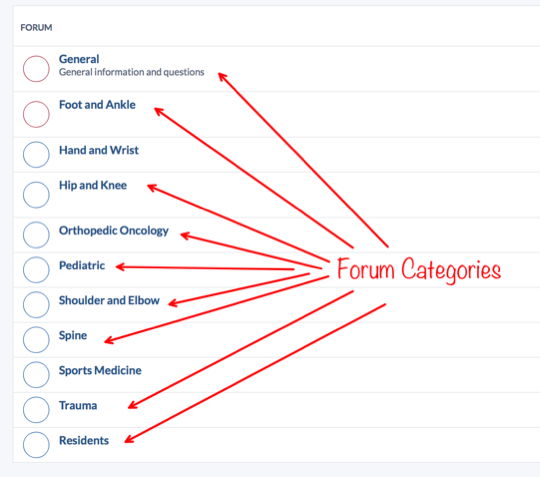
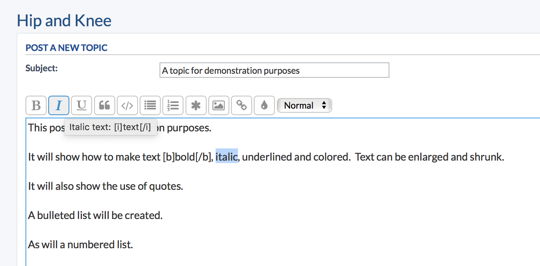
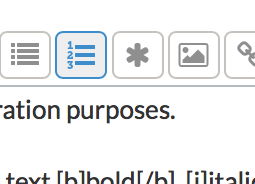
The forum allows for a variety of formatting options. Learn what you can do by clicking on any of the tabs below.
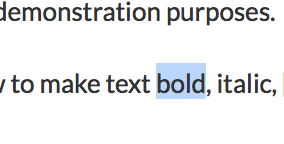

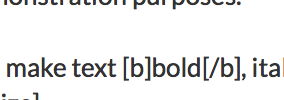
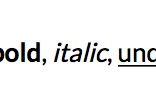
The bolded text will look like this once the post is saved
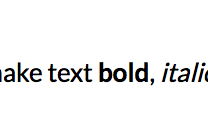
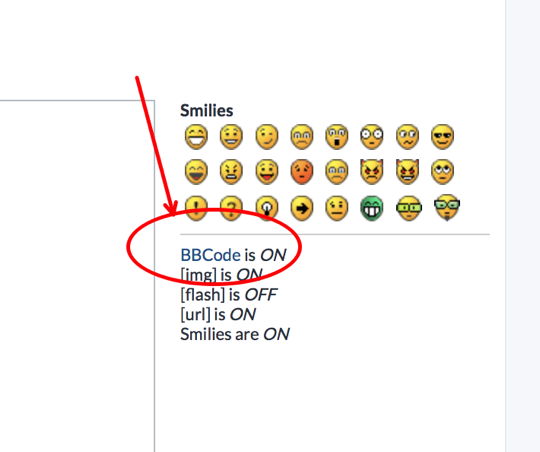
Link to learn more about BBCodes
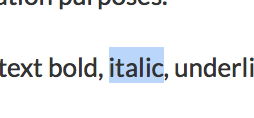

The bolded text will look like this once the post is saved
Link to learn more about BBCodes
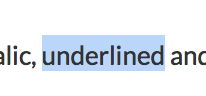
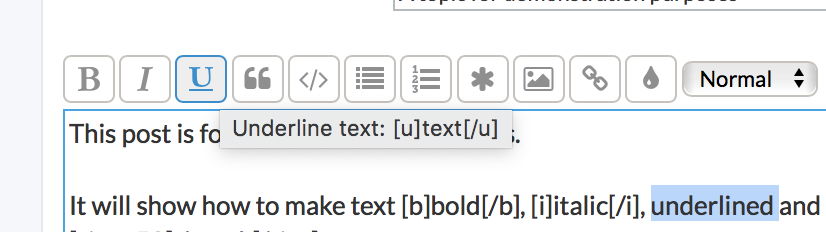

The underlined text will look like this once the post is saved
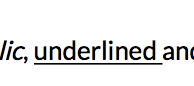
Link to learn more about BBCodes
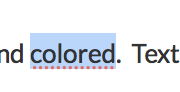
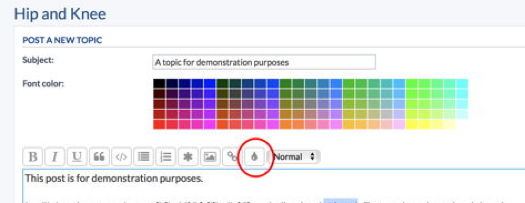
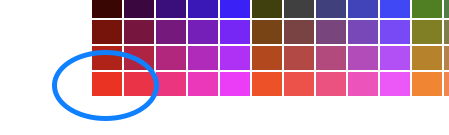
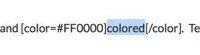
The colored text will look like this once the post is saved

Link to learn more about BBCodes
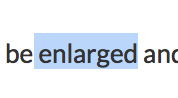
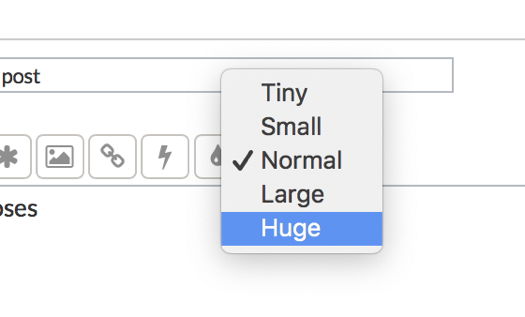
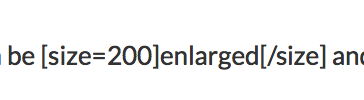
The larger text will look like this once the post is saved

Link to learn more about BBCodes

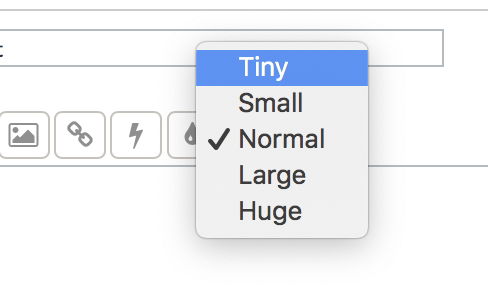
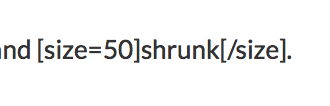
The smaller text will look like this once the post is saved

Link to learn more about BBCodes
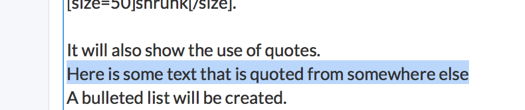
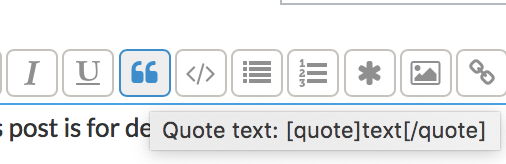

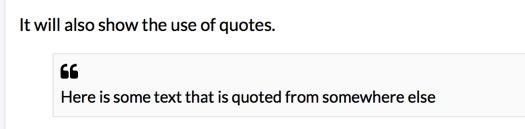
The text in a quote box will look like this once the post is saved
Link to learn more about BBCodes
For numbered lists skip to step 7. For lettered lists skip to step 11.
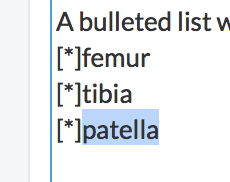
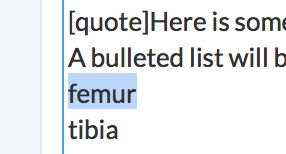
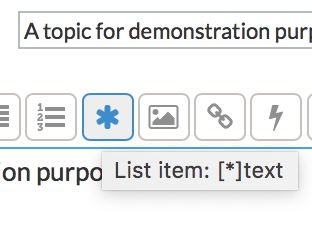
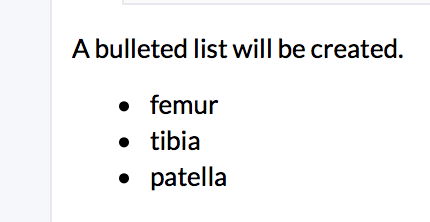
Bulleted List
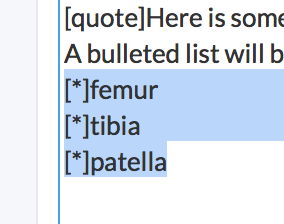
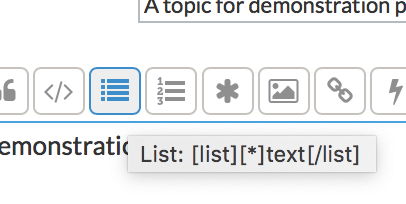
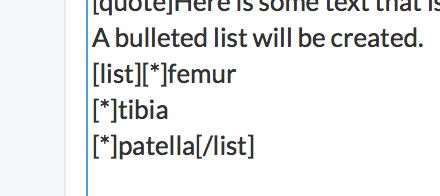
The bulleted list will look like this once the post is saved
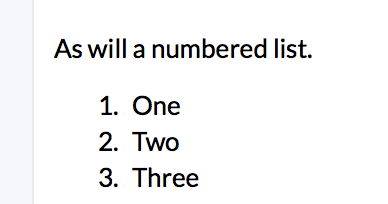
Numbered List
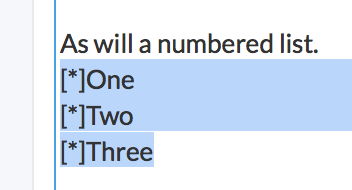
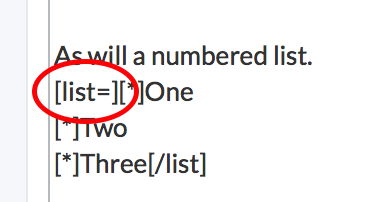
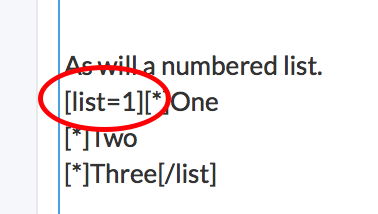
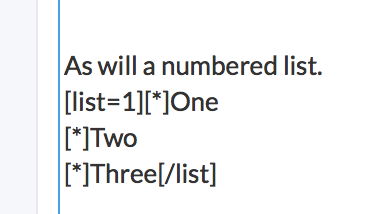
The numbered list will look like this once the post is saved
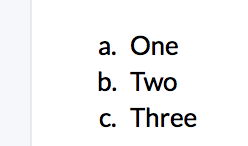
Lettered List
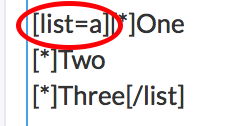
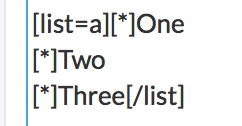
The lettered list will look like this once the post is saved
Link to learn more about BBCodes
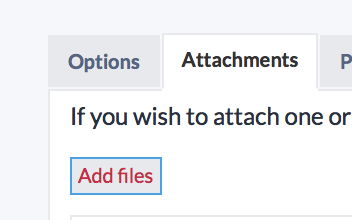
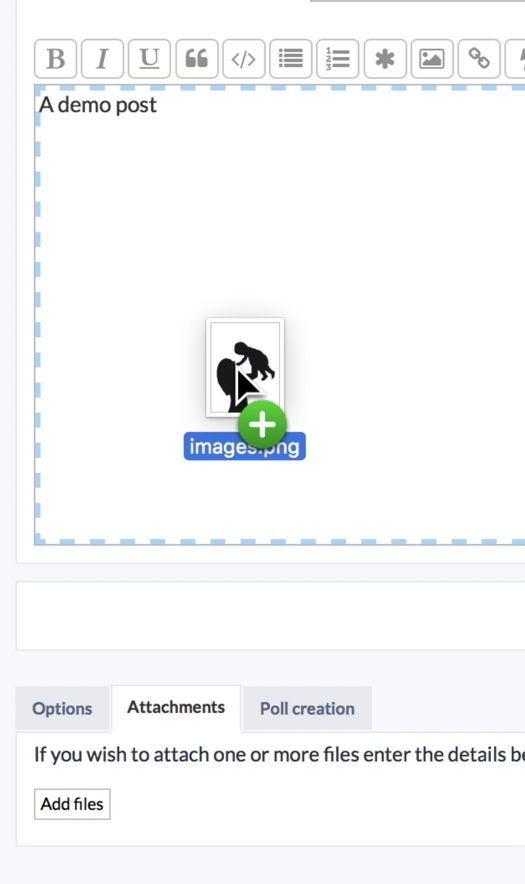
Once images have been uploaded to a post they will be displayed at the end of the post unless they are placed inline the post.
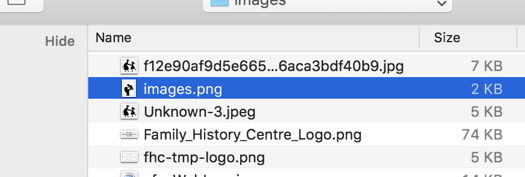
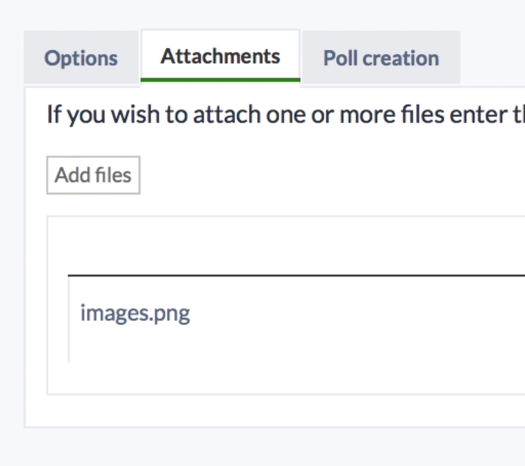
Load Images Using the Attachments Section
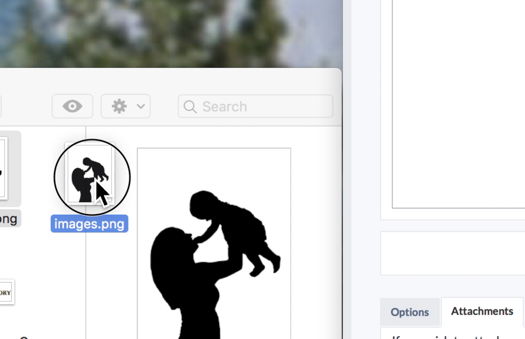
Dragging and Dropping Images
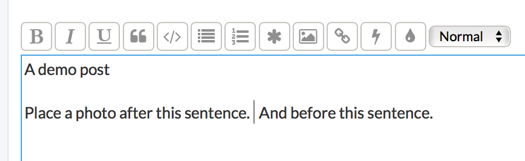
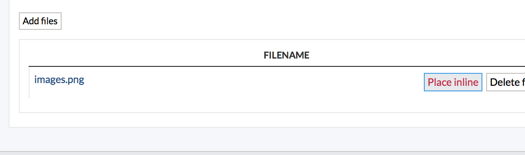
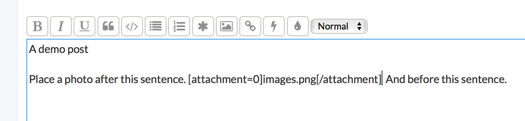
Placing an Image Inline
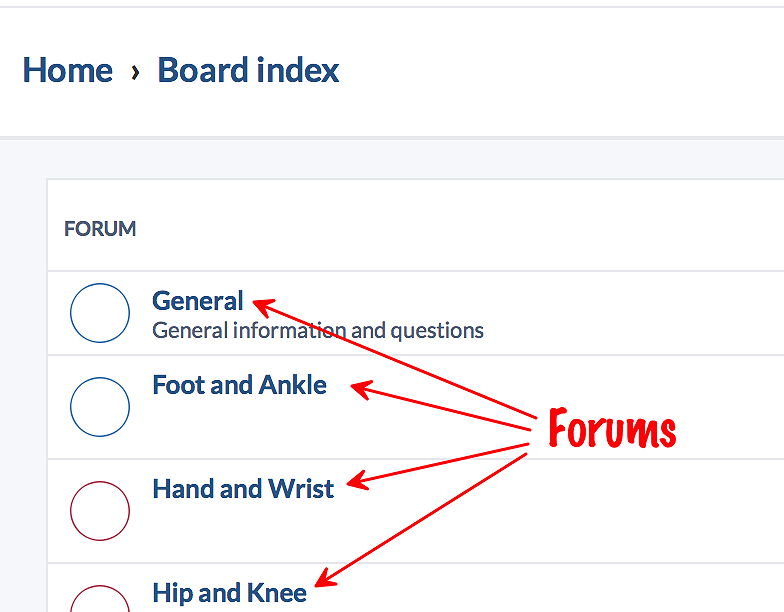
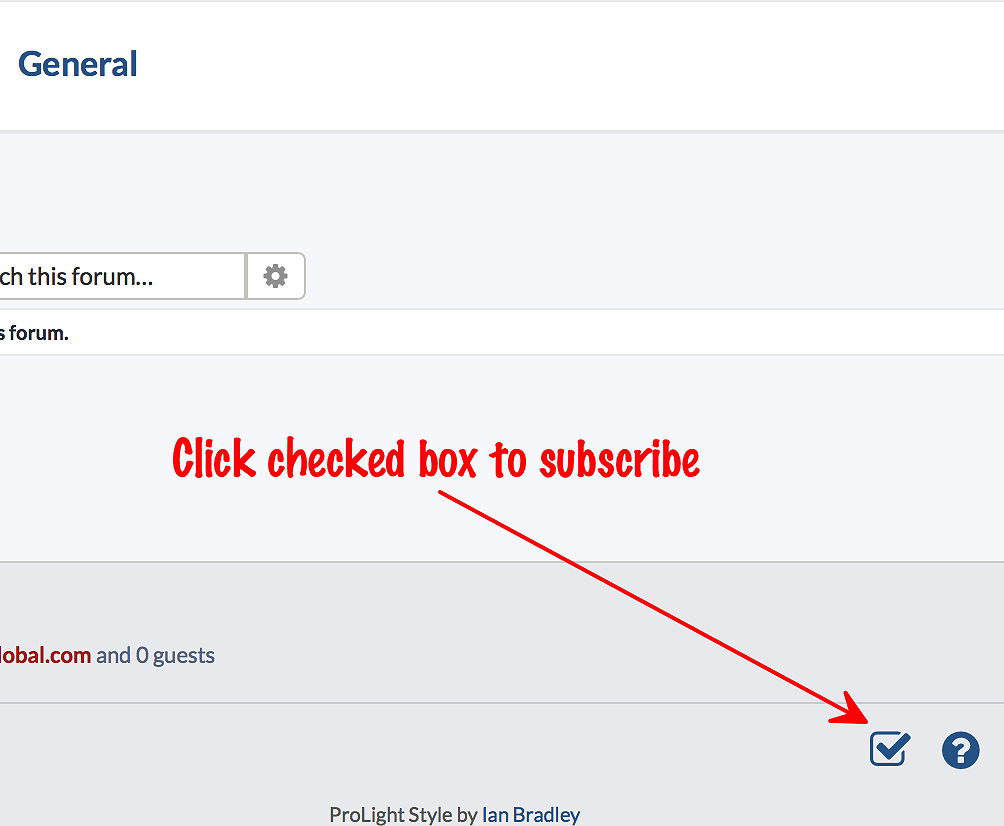
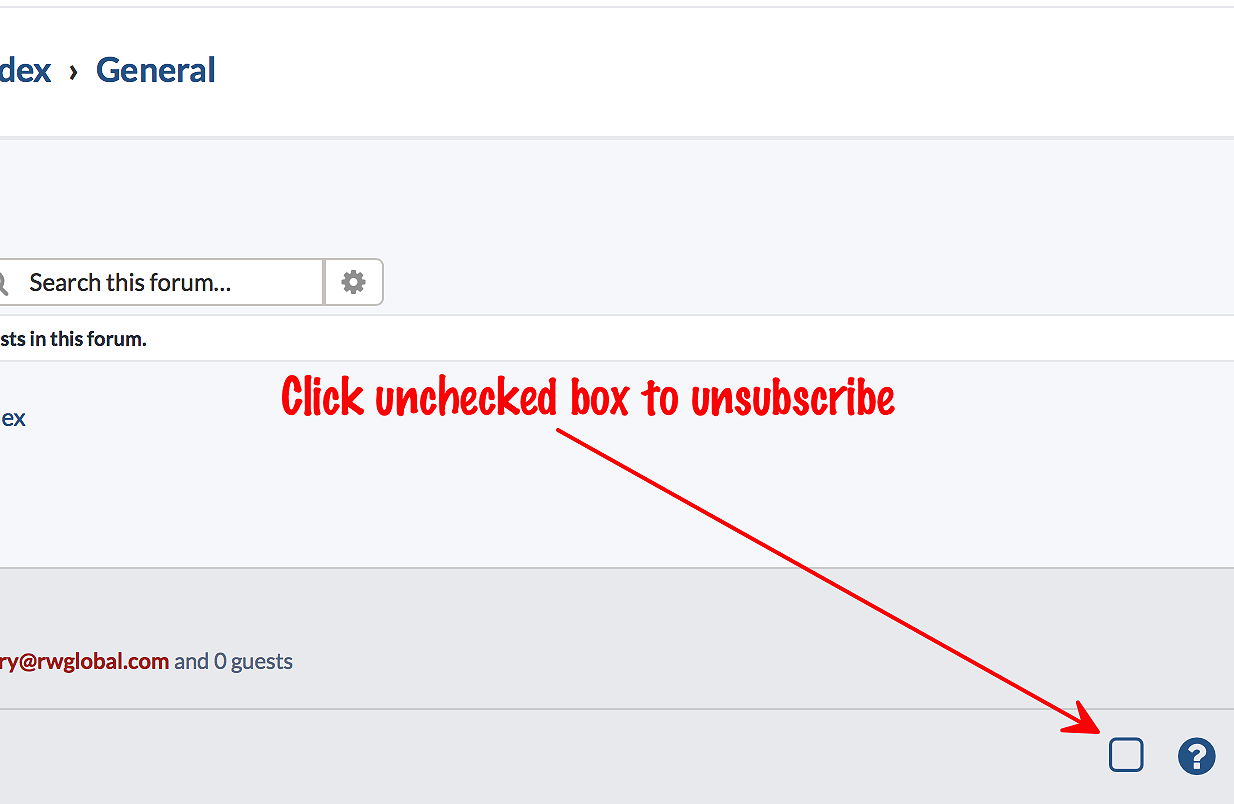
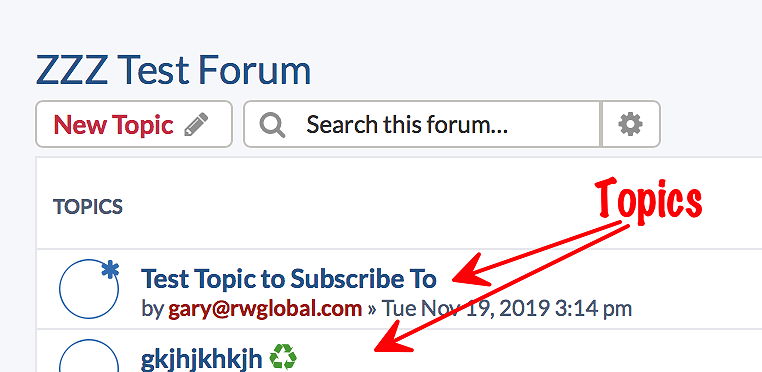
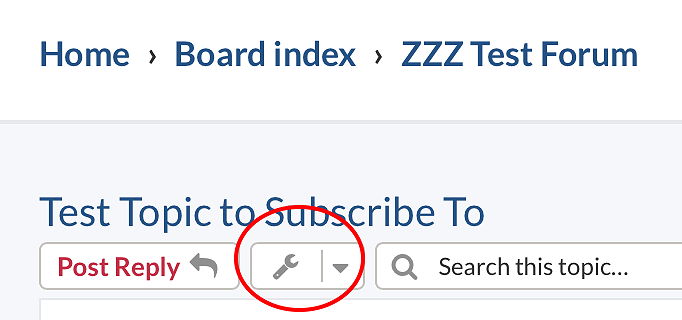
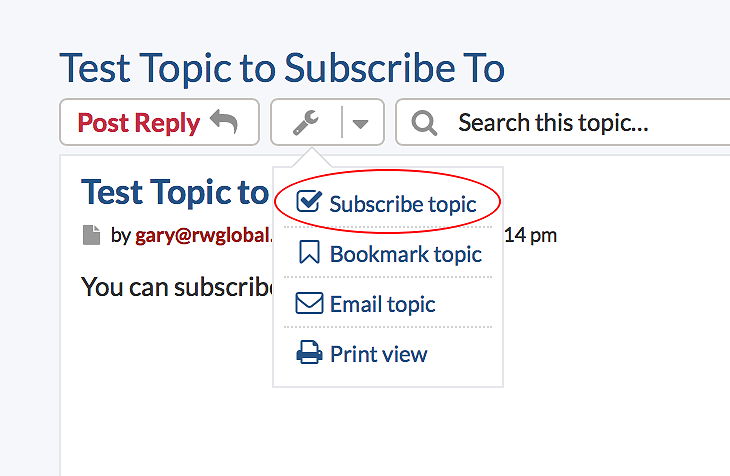
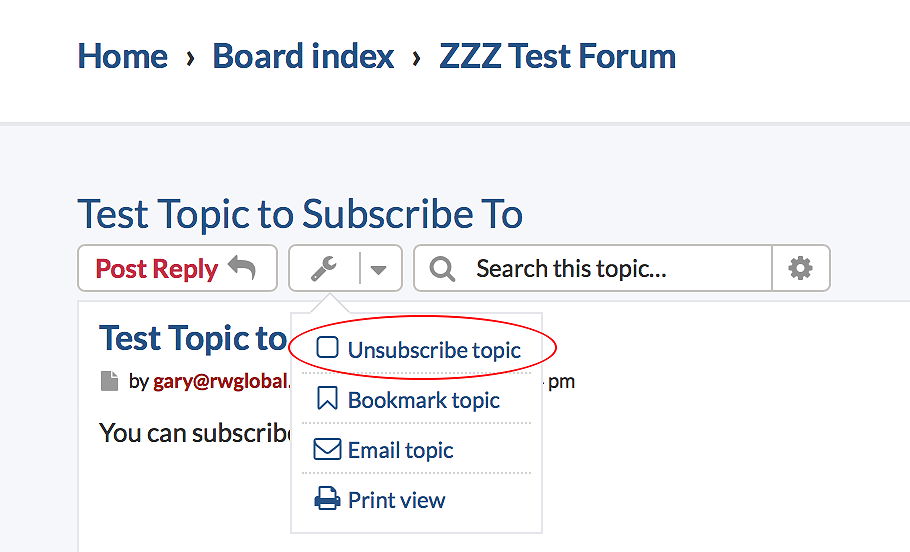
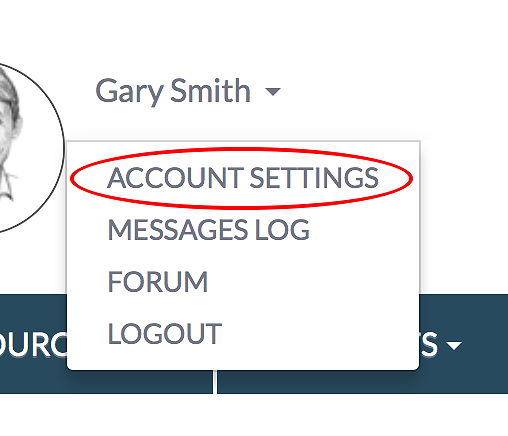
You can subscribe to both specific forum and specific topice. Subscriptions can be managed both through the forum and you website "Account Settings".